Upon assigning judges to the relevant submissions or groups, you will notice a table with the following contents under Manage Judging > Judge Assignment module
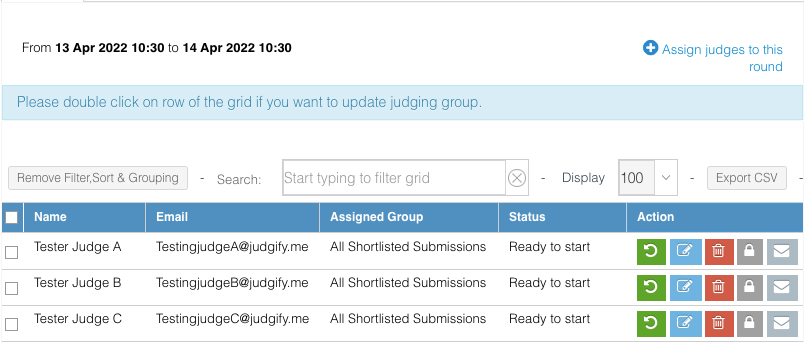
Name - Shows the first name and last name entered
Email - Shows the email address which was input during the assigning process
Assigned Groups - Shows the submissions or groups allocated to a particular judge. You can also double click on either of the rows to change the judging groups assigned.

Status - Shows the status of the judging (e.g. Ready to start). You can also track the progress once the judging starts.

Action - Five options will be visible under this section
Resend Judge Invitation Email - Allows resending the judge invitation email
Edit - Allows editing of the information
Delete - Allows the user to delete a particular judge
Restrict Access - By clicking this option it will restrict the access of a particular judge
Send the Scores Mail to Judge - By clicking this option the platform will send an email to the judge with their respective scores provided.
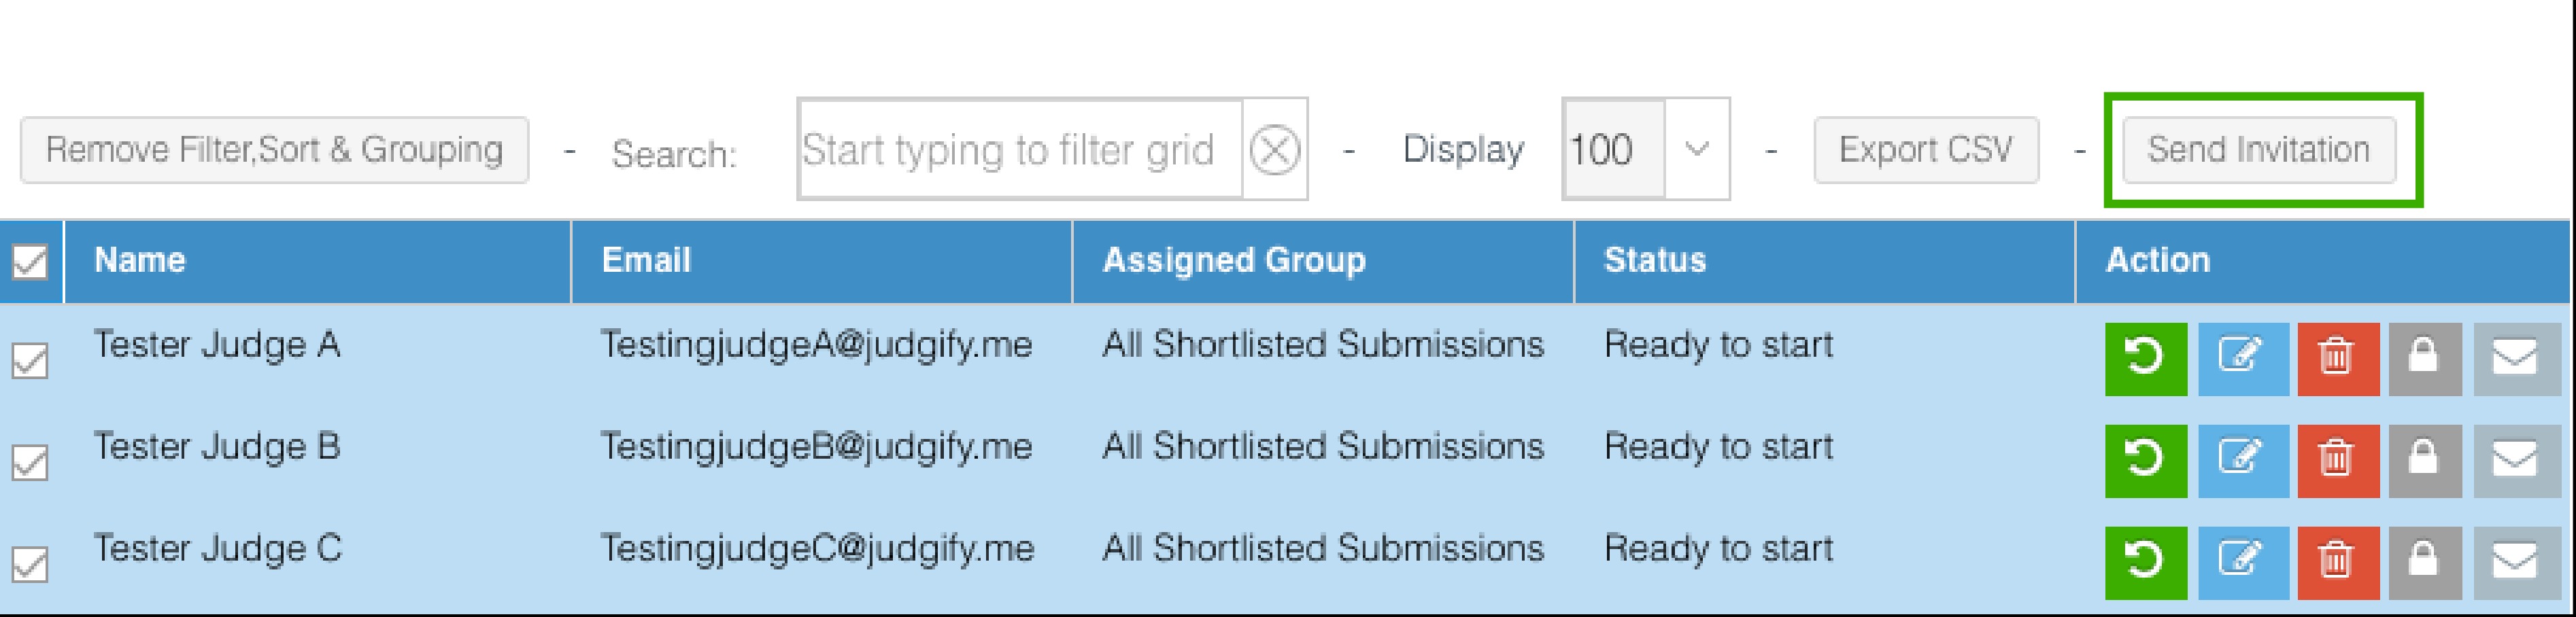
The search bar option can be used to Filter a particular grid or enter a specific search string to filter the data. To undo the action click on “Remove Filter, Sort & Grouping”
The user can export the data using the Export CSV button and can send mass judge invitation emails by selecting all and then clicking on the Send Invitation button.
Please note: You may use the delete option to delete a particular judge. This action can be done as long as the judge has not given any score.
Was this article helpful?
That’s Great!
Thank you for your feedback
Sorry! We couldn't be helpful
Thank you for your feedback
Feedback sent
We appreciate your effort and will try to fix the article